
Cotoletta alla Milanese
Thick. With the bone. Fried in butter, never oil, and never — never — beaten flat. Five things go into this dish, which is exactly why there is nowhere to hide when one of them is wrong.
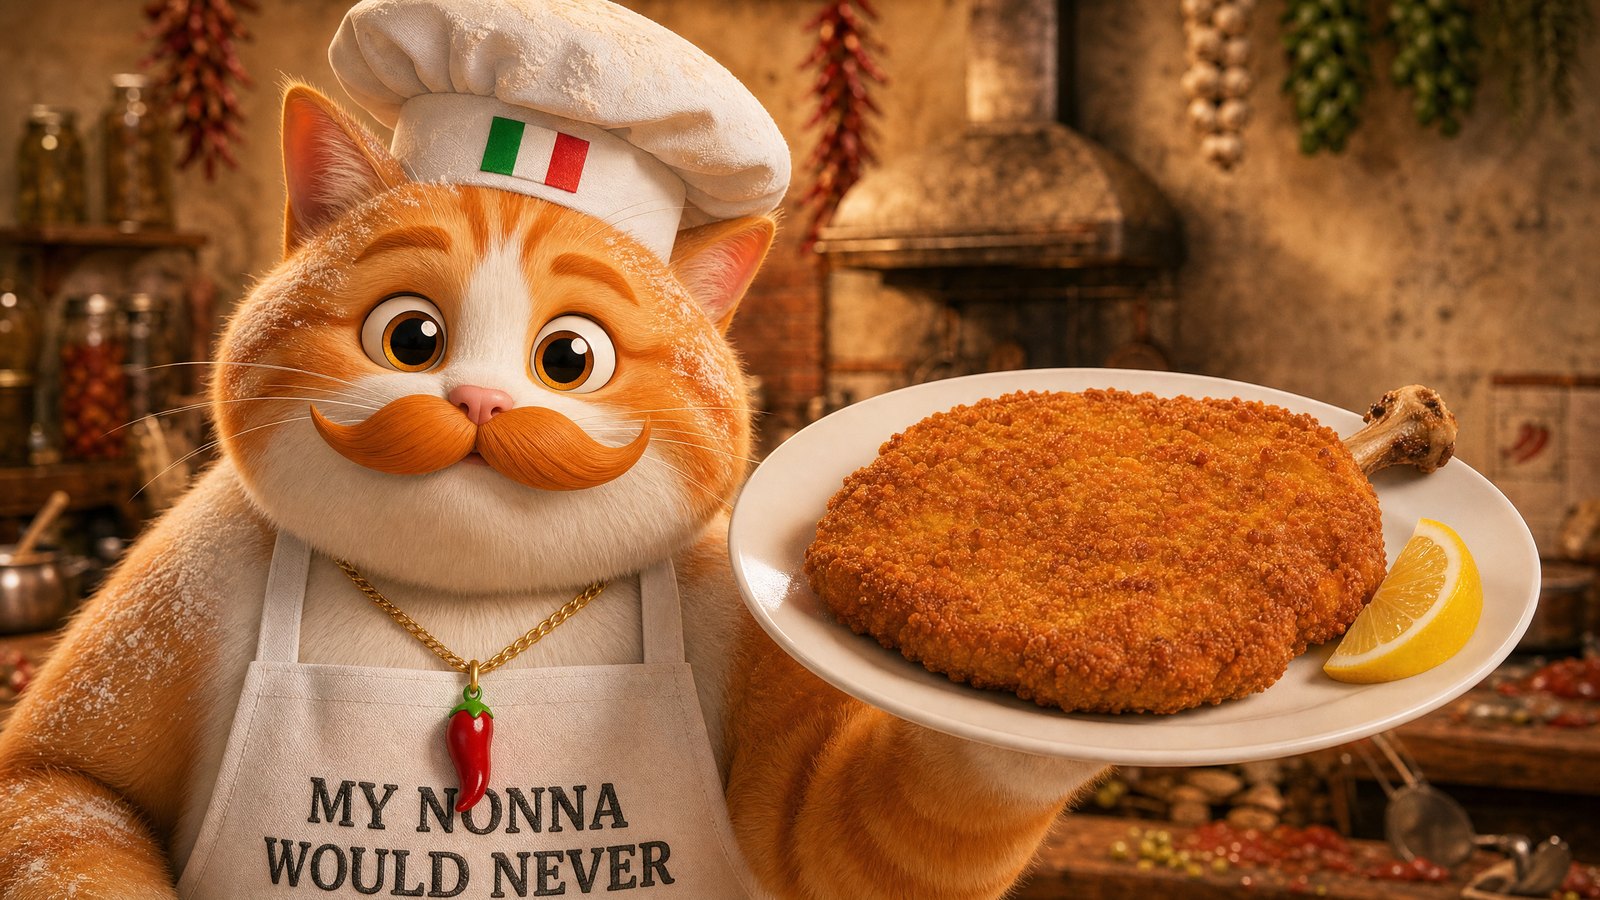
Most of what goes wrong with a cotoletta has already gone wrong before the pan is hot. The wrong cut, bought thin. The breading loosened by a wet surface. Oil instead of butter. Each of those is decided at the butcher or at the worktable, and none of them can be rescued later.
Get the cut right and the rest is patience: fat that can take the heat, and time enough for a thick chop to cook through before its coat goes dark.
“Not a flat sad thing. Not a supermarket accident. Not a piece of meat beaten until it forgets the name of its mother. No. A real cotoletta. Thick. With the bone. Golden outside. Tender inside. A dish with dignity.”
— Episode Two
Ingredients
- 2 bone-in veal rib chops from the carré, 3–4 cm thick (about 300–350 g each)
- 2 eggs
- ~200 g fine dry breadcrumbs
- 150–200 g clarified butter, for frying
- Flaky salt, to finish — after frying, not before
No flour. No milk. No parmesan or parsley in the crumb — that is the Bolognese cutlet, a different dish that gets mistaken for this one constantly.
“The ingredients of this recipe are few. This is why it's dangerous. When there are many ingredients, everybody can hide… But here? No. Here everything confesses.”
— Episode Two
Method
-
Get the right cut — and do not flatten it
A bone-in veal rib chop from the carré, about two fingers thick. Do not pound it. The thickness is the entire point: it is what lets the outside reach gold while the inside stays rosy. Thin it, and the meat is grey and finished long before the coat has any colour.
“We keep the thickness. We keep the bone. We do not flatten her. If you want something flat, buy a napkin.”
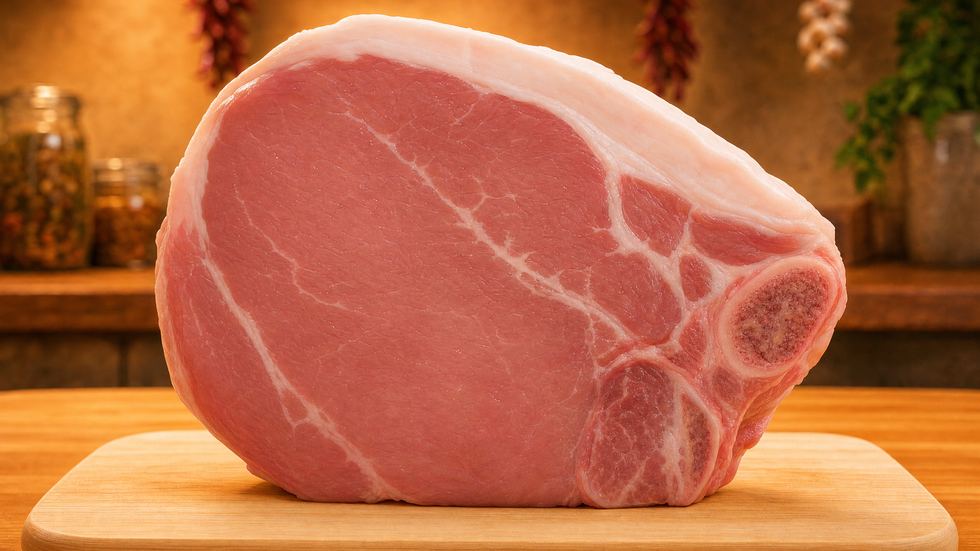
Thick, and as tall as its bone. The height is what lets the crust go golden while the middle stays rosy. -
Incise the edge so it cannot curl
Along the edge where meat meets bone and fat there is a band of connective tissue. In the heat it tightens and bows the whole chop upward, so it cooks unevenly and lifts itself out of the butter. A few small cuts through that band prevent it entirely. Almost nobody at home does this, and it is the difference between a flat chop and a rocking one.
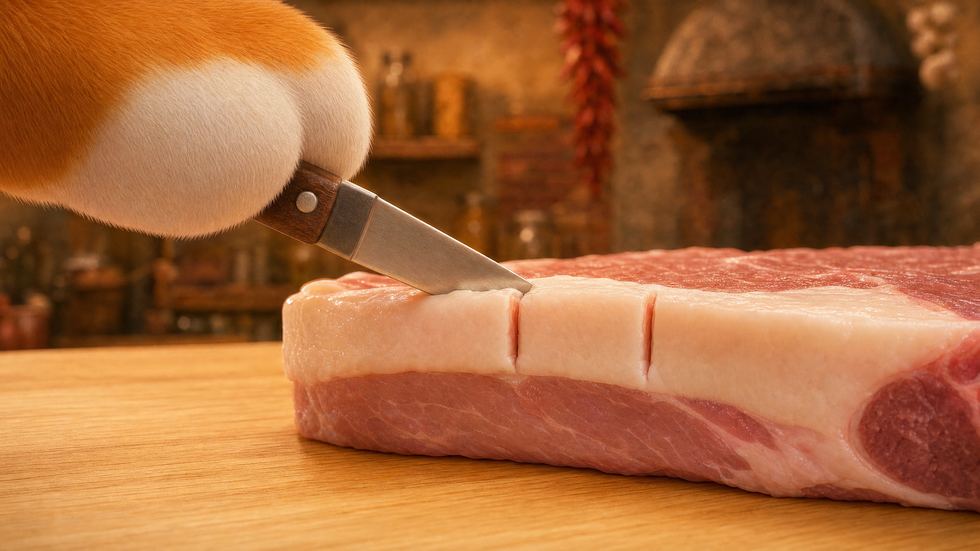
Two or three shallow cuts through the fat rim. Fat shrinks faster than meat, and an uncut rim pulls the whole chop into a bowl. -
Pat it bone dry
Thoroughly, with paper. A wet surface makes the egg slide instead of grip, and then steams the crust soft from underneath while it fries.
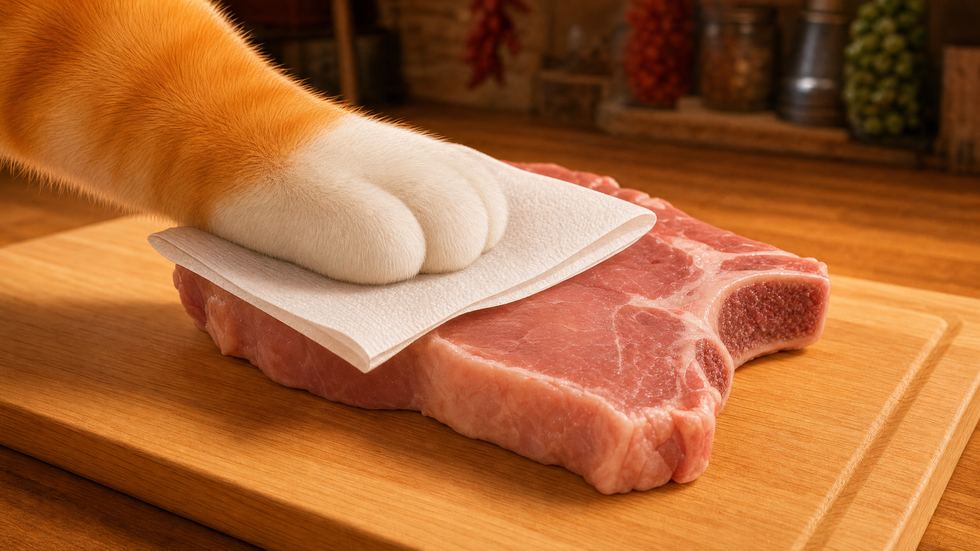
Press, do not wipe. A wet surface is the single commonest reason breading slides off in the pan. -
Egg only — no flour, no milk
Beat the eggs until they are one uniform thing, then straight from egg into crumb, letting the excess drip off first. Flour builds a layer that detaches in the pan; milk simply is not part of the traditional coating.
“Egg first. Every surface. No dry islands. The egg is the agreement.”
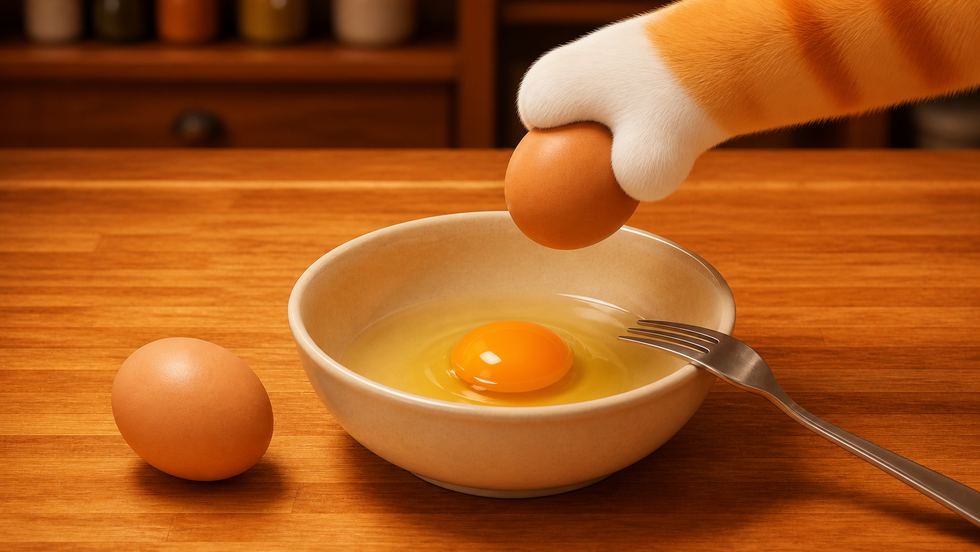
Egg alone — no flour, no milk. Beat it until it becomes one thing. -
Press the crumb on by hand
Fine dry breadcrumb, pressed on firmly with your palms — both faces and the edge by the bone, which everybody forgets. Pressing is what bonds crumb to egg. This is the step that decides whether the coating stays on the meat or ends up in the butter.
“Now the breadcrumbs. You pat. Not hammer. Like you are happy she's there with you.”
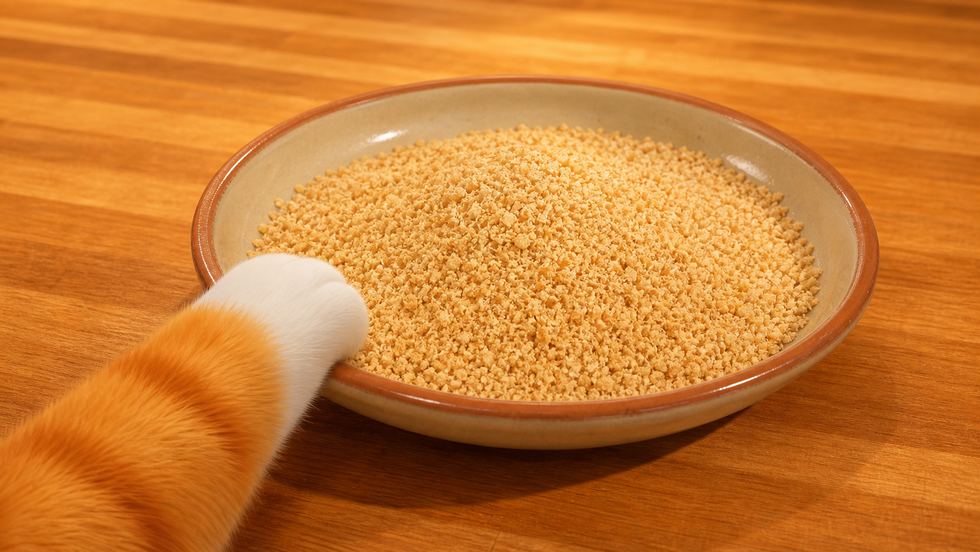
Fine dry crumb, pressed on by hand — patted, never hammered. -
Chill it for half an hour
Rest the breaded chop in the fridge, uncovered, for about thirty minutes. The coating firms and takes hold. Skipping this is the single most common reason a breading slides off.
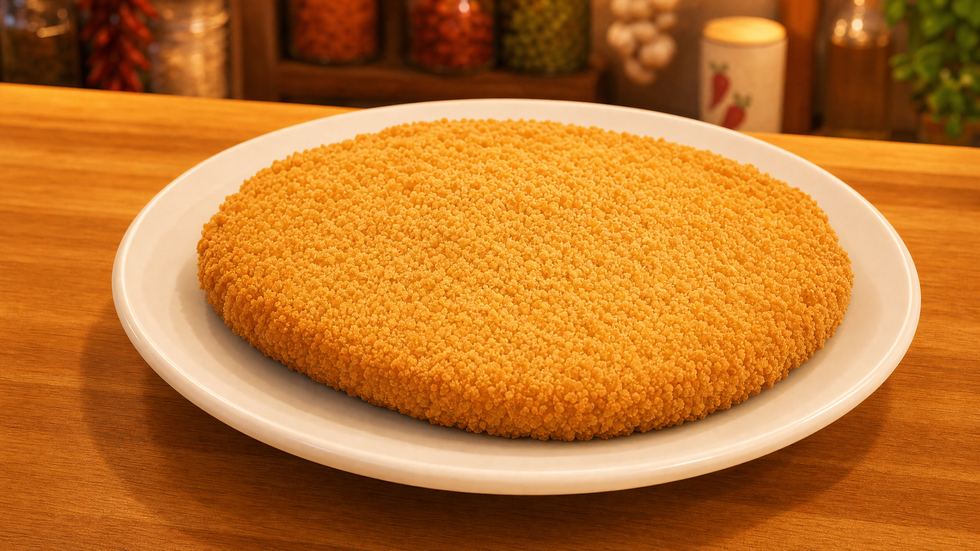
Half an hour of cold firms the coat onto the meat. It is the cheapest insurance on the page. -
Fry slowly, in clarified butter
Enough clarified butter to come well up the sides, at a moderate 160–180 °C — not screaming hot. Five to seven minutes a side for a chop this thick. Butter is not a stylistic preference here, it is the dish; but whole butter blackens around 120–140 °C, which is below frying heat, so it has to be clarified.
Never clarified butter before? → It takes twenty minutes and it is the difference between golden and bitter. Here is how, and why it works.“Clarified butter. Clean. Golden. Serious. The cotoletta does not swim in confusion. She enters the butter and becomes herself.”
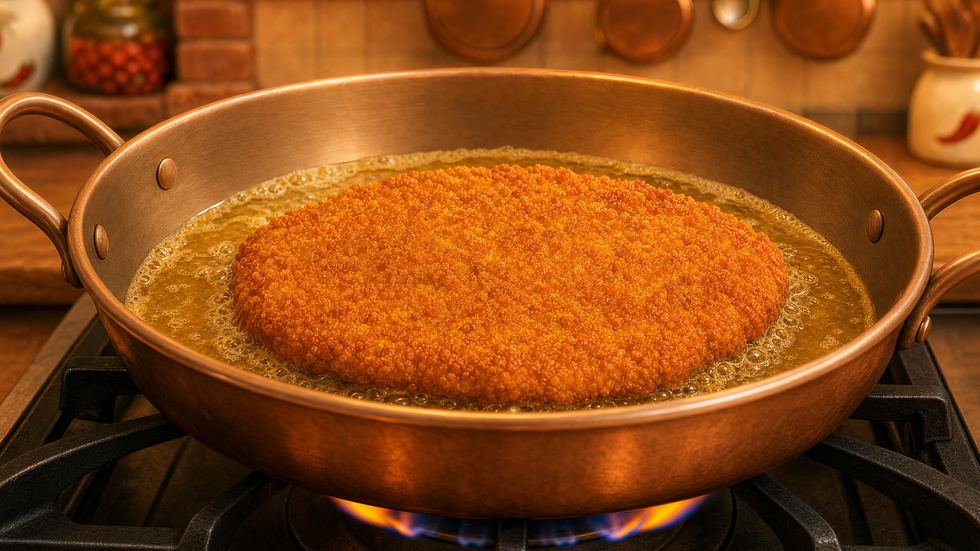
A shallow pool of clarified butter, foaming gently. Moderate heat — a chop this thick wants five to seven minutes a side. -
Baste the top, and the bone
Tilt the pan and spoon the hot butter over the exposed upper surface — and especially over the bone, which conducts heat inward. This cooks a thick chop evenly without flipping it back and forth, which is what damages a coating.
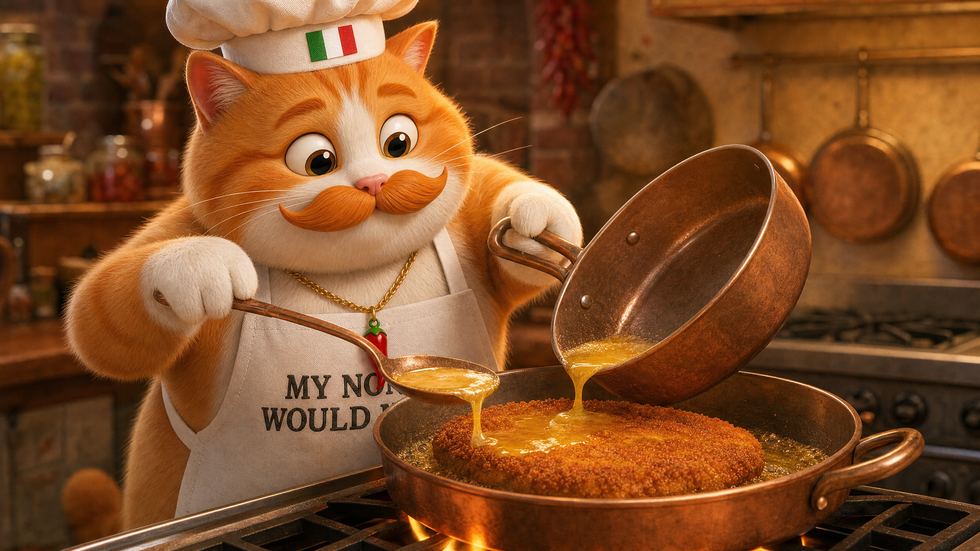
Tilt the pan and spoon the hot butter over the top — and over the bone, which is the slowest part to come up to heat. -
Judge it by colour, not by clock
The crust wants to be dorata — a clean gold. Brown means the butter ran too hot or the chop sat too long. Cut in at the bone and the meat should be bianco-rosa: pale, faintly rosy. That is the single most reliable "is it done" signal this dish gives you.
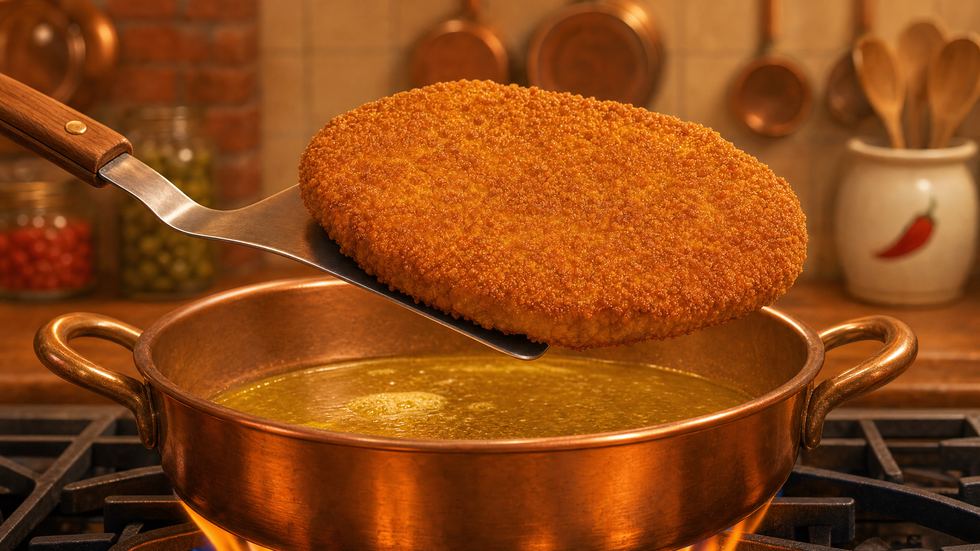
Gold, evenly, edge to edge. Brown means the butter ran too hot; the clock is not the judge here, the colour is. -
Drain, salt now, serve immediately
Drain on paper and blot the top so residual butter does not soak back in. Salt now, with flaky salt — salting raw meat pulls juices to the surface, wets the crust and loosens the breading. And do not cover it: trapped steam undoes everything you just did.
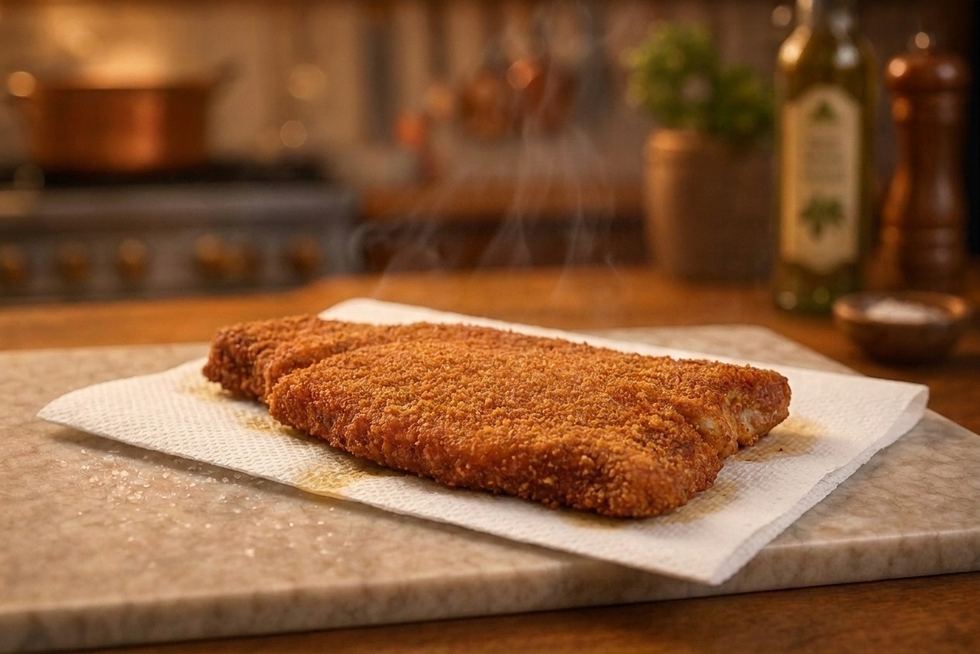
Onto paper, then salt it — now, while it is hot. Salt before frying draws out water and takes the breading with it.
When it goes wrong
- The breading came off in the pan
- Almost always one of three things: the meat was not dried, flour was used, or the breaded chop went straight into the butter without chilling. All three are fixed before the pan is ever lit.
- The crust is dark but the middle is raw
- The butter was too hot. A chop this thick needs a moderate 160–180 °C and real time. Lower the flame and let it take the five to seven minutes a side it actually needs.
- It curled up and cooked unevenly
- The connective band at the bone edge was left intact and tightened. Incise it next time (step two).
- It tastes bitter, and the butter went black
- Whole butter, not clarified. The milk solids scorched — see clarified butter.
Two arguments you should know about
Single or double breading? Genuinely contested. The historical line — the Milan De.Co. designation, Artusi, Allan Bay — is a single coat, precisely because the chop is already thick. Plenty of modern write-ups call double breading "the traditional method". Double is fine if you want more crunch; it just should not be called the original.
Lemon? Not part of the original dish — the fried butter was spooned over instead — and purists reject it flatly. It is also on practically every restaurant plate in Milan today, including, as it happens, the one at the top of this page.
“Breadcrumbs. This is not dust. This is the coat. The dress. The public image. A loose breading is not rustic. It is a dishonourable defeat.”
— Episode Two
Watch the episode